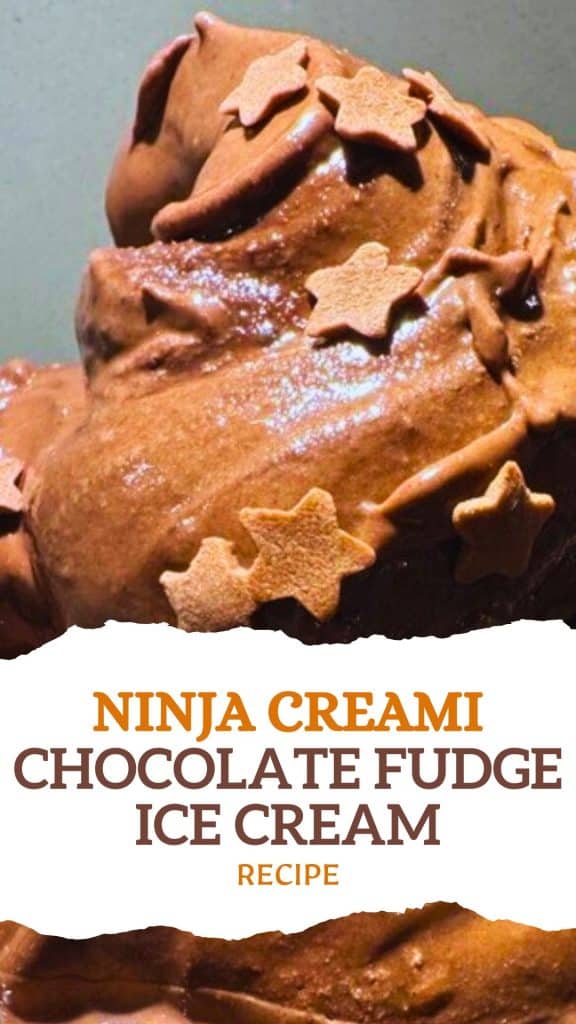
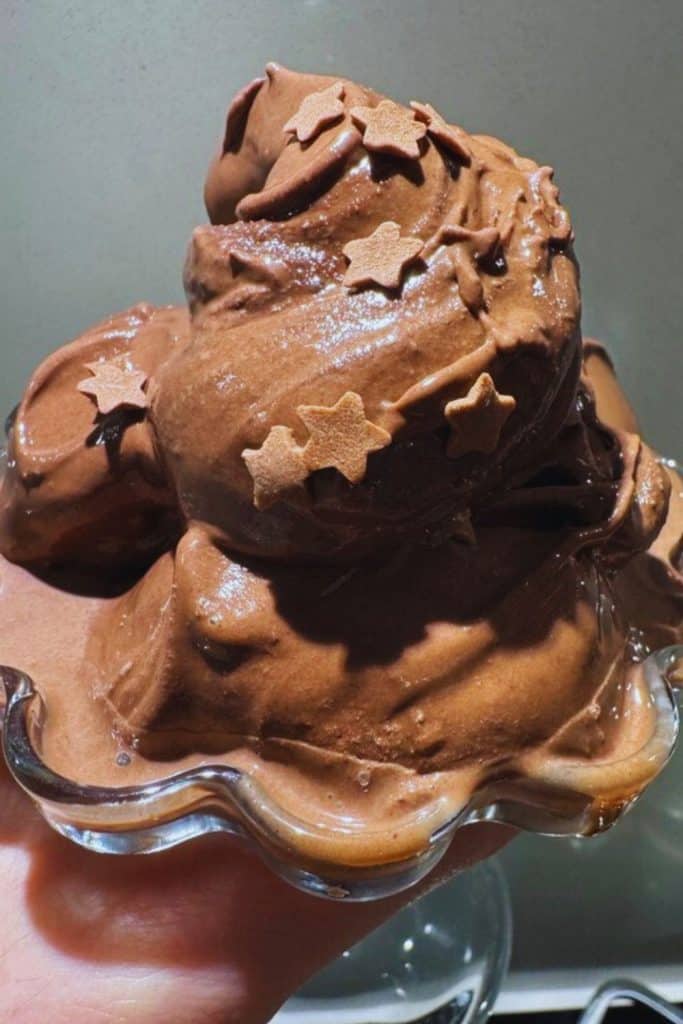
As a chocolate lover, I’ve always been on the hunt for the perfect homemade ice cream. When I discovered the Ninja Creami, it was a game-changer. Let me tell you, making Ninja Creami Chocolate Fudge Ice Cream is not just easy; it’s a chocolate enthusiast’s dream come true.
This recipe combines rich cocoa flavors with a velvety smooth texture that’ll have you coming back for seconds (and thirds).
Choosing the Right Ingredients for Ninja Creami Chocolate Fudge Ice Cream

The secret to an exceptional Ninja Creami Chocolate Fudge Ice Cream lies in the quality of ingredients. Here’s what you’ll need:
Dutch Processed Cocoa: This is the backbone of our chocolate flavor. I remember the first time I used Dutch processed cocoa; the depth it added was mind-blowing.
Sweetened Condensed Milk: It’s not just about sweetness; this ingredient contributes to that luscious, creamy texture we’re after.
Heavy Cream and Milk: The combination of these two creates the perfect balance of richness and smoothness.
Step-by-Step Recipe for Ninja Creami Chocolate Fudge Ice Cream
Let’s dive into making this chocolatey masterpiece:
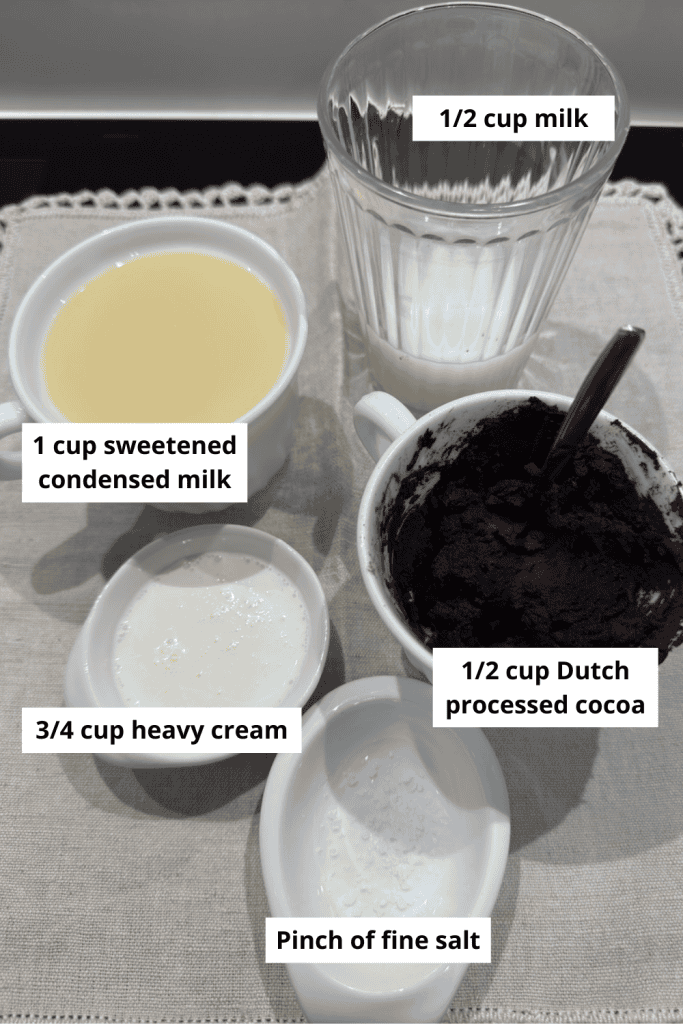
Ingredients:
– 1/2 cup Dutch processed cocoa
– 1/4 cup hot water
– 1 cup sweetened condensed milk
– 3/4 cup heavy cream
– 1/2 cup milk
– Pinch of fine salt
Instructions:
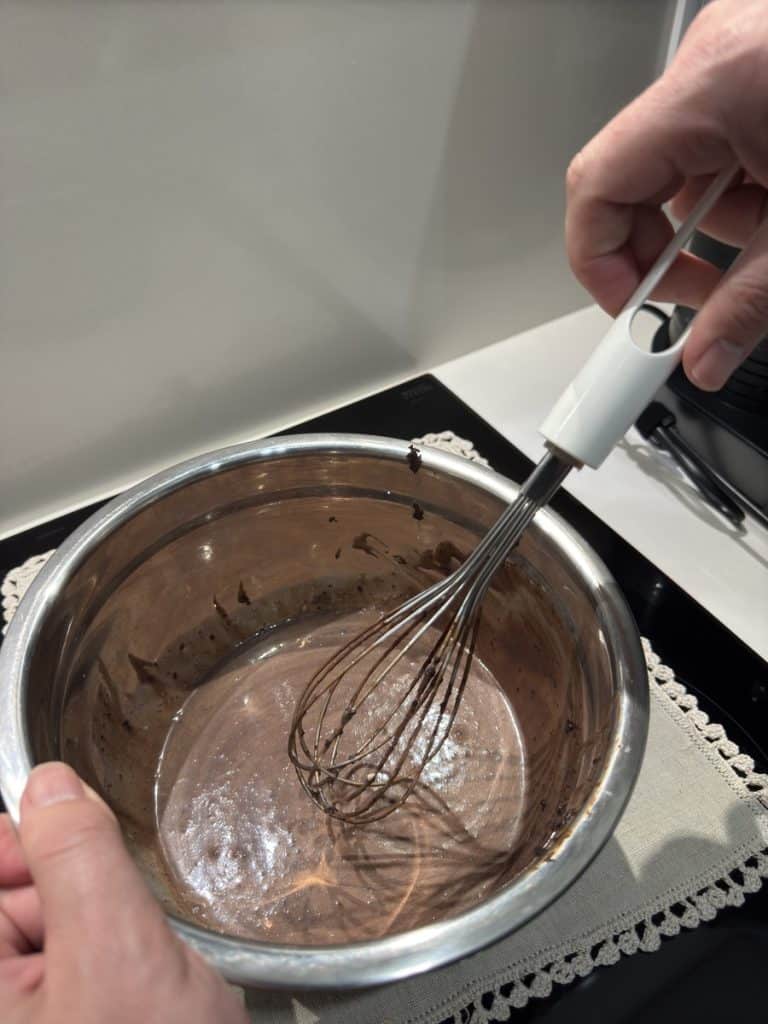
1. Bloom the cocoa: In a bowl, whisk together the cocoa and hot water until smooth. This step is crucial for intensifying the chocolate flavor.

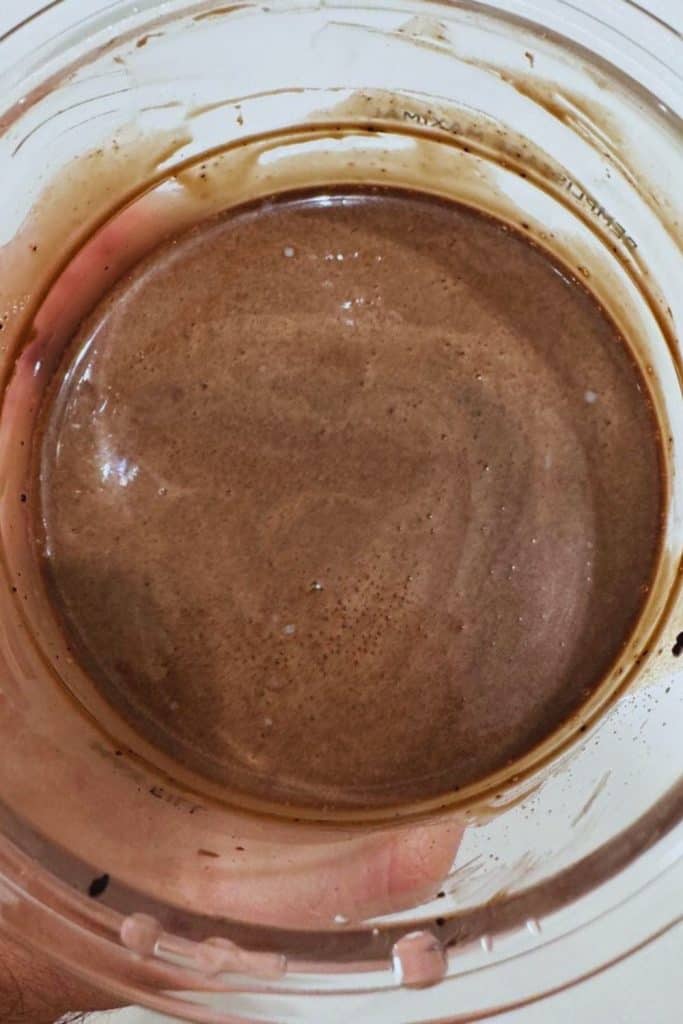
2. Combine ingredients: Add the sweetened condensed milk to the cocoa mixture and whisk until well combined. Then, stir in the heavy cream, milk, and salt.
3. Freeze the mixture: Pour into your Ninja Creami container and freeze for at least 24 hours. I learned the hard way that patience here is key!
4. Process in Ninja Creami: Once frozen solid, place the container in your Ninja Creami and select the ‘ice cream’ function. Let it work its magic!
5. Serve and enjoy: Scoop out your freshly made ice cream and savor every bite. Trust me, the wait is worth it.
Tips and Variations for Ninja Creami Chocolate Fudge Ice Cream
Experiment with mix-ins: Try folding in some crushed Oreos or a swirl of peanut butter after processing. It’s a game-changer!
Adjust the sweetness: If you prefer a darker chocolate taste, reduce the sweetened condensed milk slightly and add a tablespoon of espresso powder. It’s a trick I picked up from an Italian gelato maker.
Vegan alternative: For my plant-based friends, try using coconut cream instead of dairy. The result is equally decadent.

Common Mistakes to Avoid When Making Ninja Creami Chocolate Fudge Ice Cream
Don’t rush the freezing process: I once tried to speed things up by putting the mixture in the freezer for just a few hours. Big mistake! The full 24-hour freeze is crucial for the right texture.
Avoid overfilling the container: Leave about an inch of space at the top to allow for expansion during freezing.
Don’t skip the ‘blooming’ step: It might seem like an extra step, but blooming the cocoa in hot water makes a world of difference in flavor intensity.
Final Thoughts
Creating Ninja Creami Chocolate Fudge Ice Cream is more than just following a recipe; it’s about crafting a moment of pure indulgence. The process is simple, but the results are extraordinary. Whether you’re treating yourself after a long day or impressing guests at a dinner party, this ice cream is sure to be a hit.
Remember, the joy of cooking (or in this case, ice cream making) is in the experimentation. Don’t be afraid to put your own spin on this recipe. Who knows? You might create your new favorite dessert!
