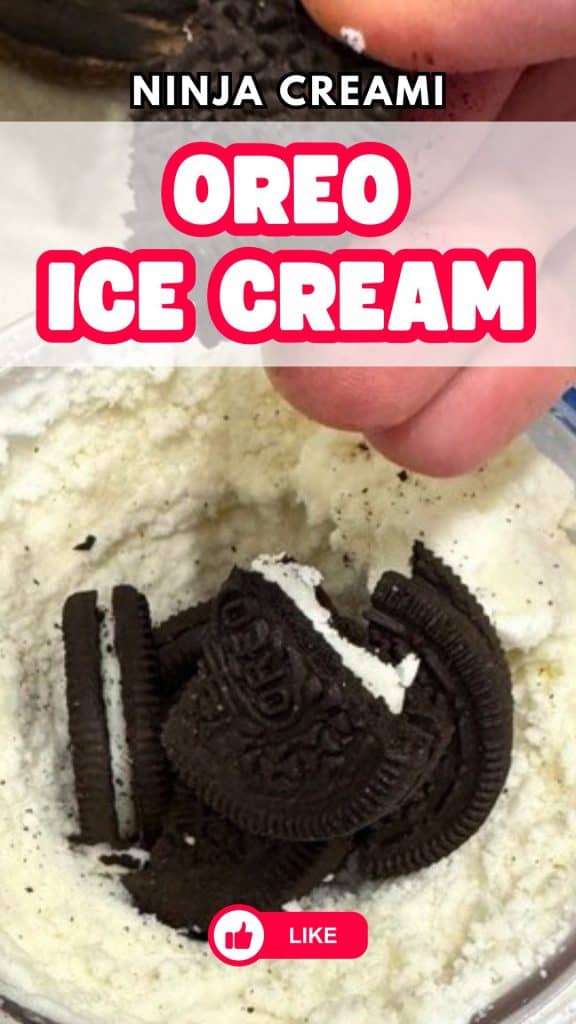
Welcome to the ultimate guide on making the perfect Ninja Creami Oreo Ice Cream. There’s something magical about the combination of creamy vanilla ice cream and crunchy Oreo cookies that takes me right back to childhood summers.
With the Ninja Creami, we can recreate this classic flavor at home, achieving a texture that rivals any premium ice cream shop. Let me walk you through my tried-and-true recipe that’s guaranteed to satisfy your sweet tooth and impress your friends and family.

Ingredients and Equipment
What You Need
To whip up this delightful Ninja Creami Oreo Ice Cream, gather these ingredients and tools:
Ingredients:

- 1 cup whole milk (for a richer and creamier texture)
- ½ cup Half and Half (if unavailable, substitute with ¼ cup heavy cream + ¼ cup whole milk)
- 1 oz (2 tablespoons) cream cheese, softened
- ⅓ cup granulated sugar
- 1 teaspoon pure vanilla extract or 1 teaspoon vanilla bean paste
- 5 Oreo cookies (or more, if desired)
- Equipment:
- Ninja Creami Ice Cream Maker
- Ninja Creami Pint Container
- Freezer (ideally set to -18°C / 0°F or colder)
Step-by-Step Instructions
Preparing the Ice Cream Base
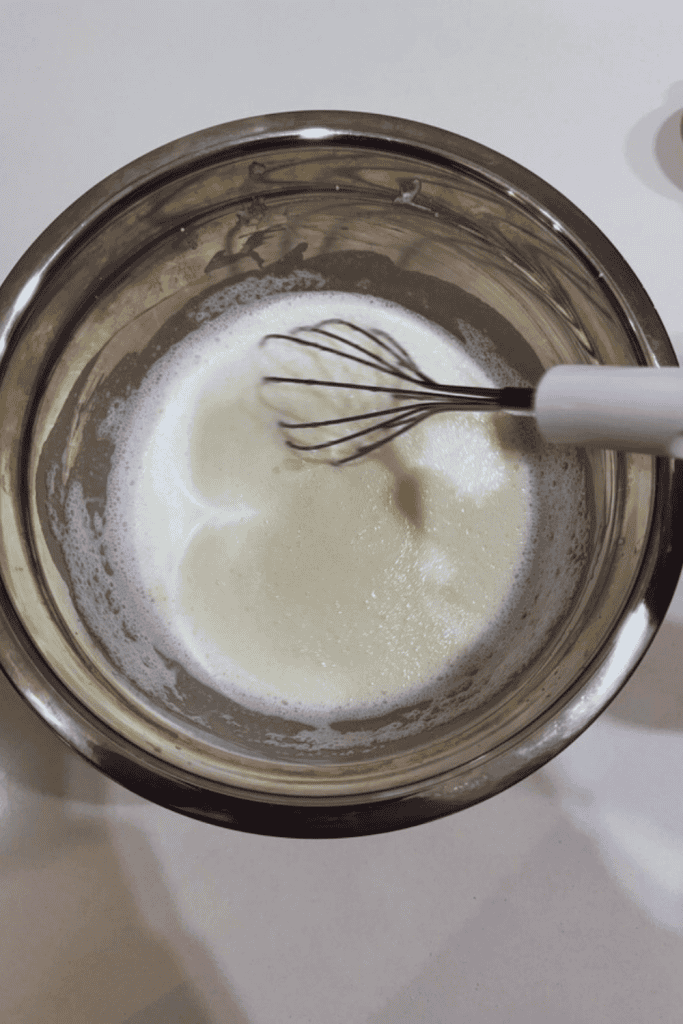
1. Combine the ice cream base ingredients: In a bowl or directly in the Ninja Creami pint container, add the softened cream cheese, milk, Half and Half, sugar, and vanilla extract. Mix well until the cream cheese is fully dissolved, creating a smooth and lump-free base. If needed, use a mixer or blender to ensure everything is well incorporated and the sugar is completely dissolved.
Freezing the Base

2. Freeze the mixture: Pour the mixture into the Ninja Creami pint container. Seal the container tightly with its lid and place it on a level surface in the freezer. Freeze for at least 24 hours. Ensure the freezer is set to a sufficiently low temperature (-18°C / 0°F) for the base to freeze properly. Avoid opening the freezer frequently during this time to maintain consistent temperature.
Processing the Ice Cream
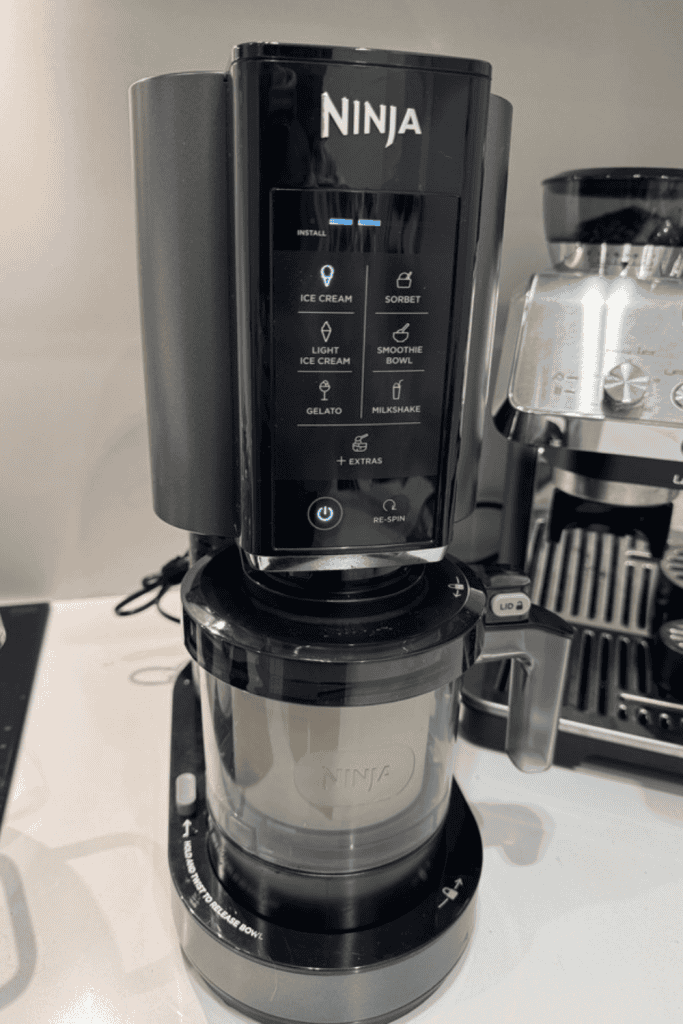
3. Process the ice cream: After freezing, remove the pint container from the freezer and place it into the Ninja Creami outer bowl. Secure the lid and process using the ICE CREAM function. If the texture appears too hard or grainy, use the RE-SPIN function to refine it until it’s smooth and creamy.
Adding the Mix-Ins
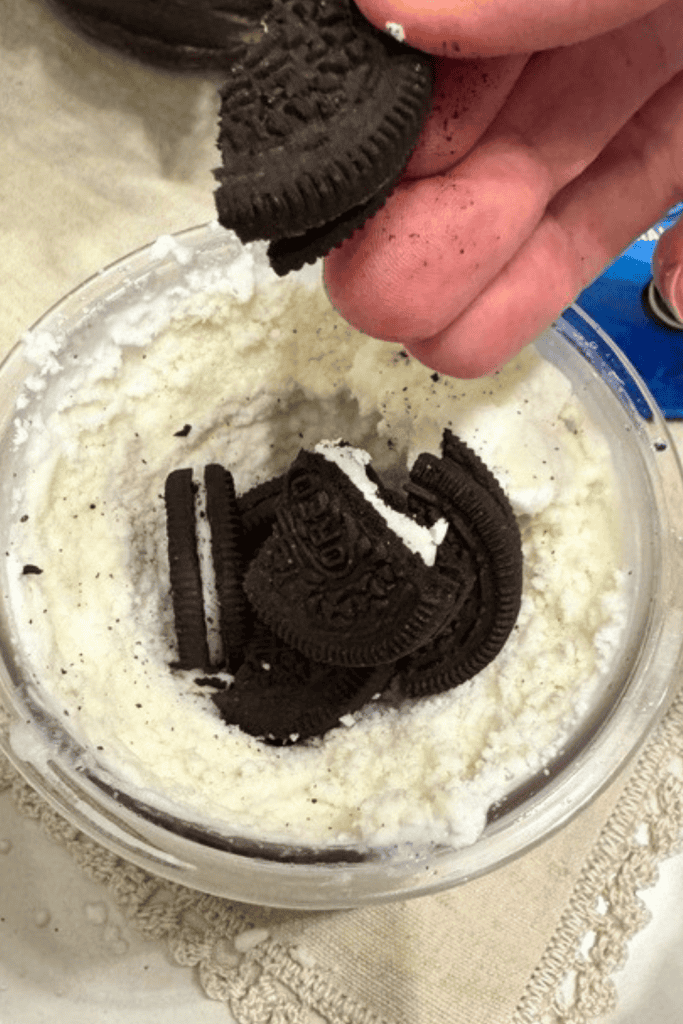
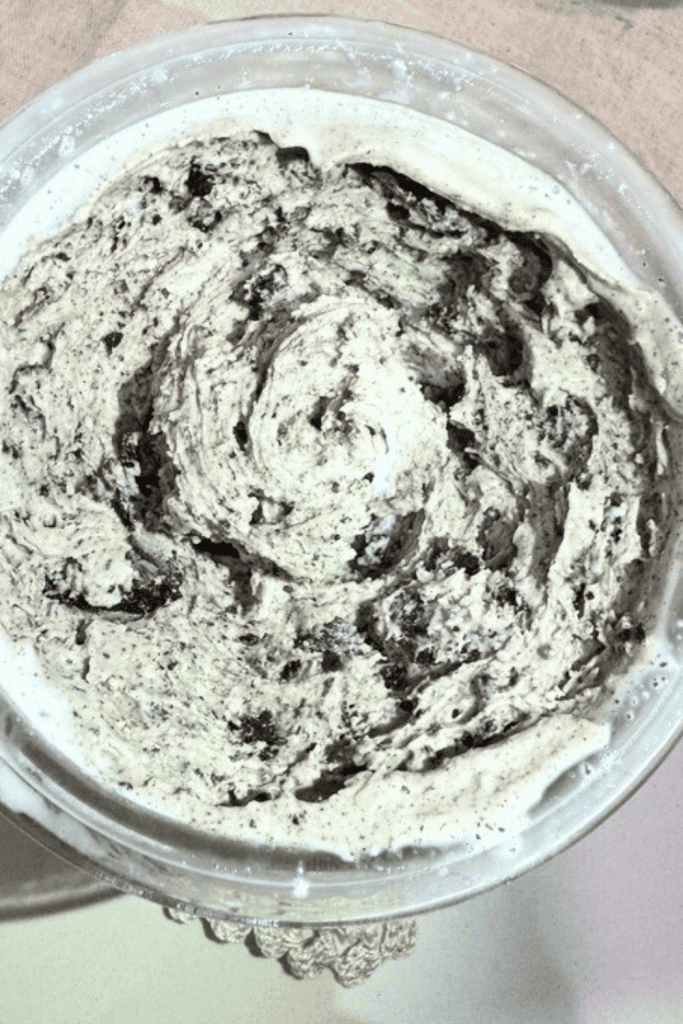
4. Add the Oreos: Using a spoon, create a well in the center of the ice cream and add the crumbled Oreo cookies. For the best texture, crush the Oreos into medium-sized pieces (not too fine, to keep the crunch). Place the pint back into the Ninja Creami and, if your model has the MIX-IN function, use it to incorporate the cookies. If your model has a different function, such as EXTRAS, or no specific mix-in function, simply use the closest option available. Alternatively, you can manually stir the cookies into the ice cream after processing to ensure even distribution.



Tips and Variations
Enhancing Creaminess
The addition of cream cheese enhances the creaminess of the ice cream and prevents ice crystals, ensuring a premium-quality texture.
Customizing Your Mix-Ins
Feel free to experiment with different mix-ins like caramel swirls, chocolate chips, or chopped nuts for variety.
Storage and Serving
Store your ice cream in the freezer with the lid tightly sealed. If it hardens too much, let it sit at room temperature for 5-10 minutes before serving, or use the RE-SPIN function to restore creaminess if your machine has it
Final Thoughts
Creating Ninja Creami Oreo Ice Cream at home is a game-changer. The first time I made this recipe, I was blown away by how closely it matched the texture and flavor of my favorite ice cream shop’s version. There’s something incredibly satisfying about crafting your own frozen treats, knowing exactly what goes into them.
Don’t be afraid to get creative with your mix-ins. Sometimes I’ll add a swirl of fudge sauce or a handful of chocolate chips for an extra indulgent treat. The possibilities are endless, and that’s the beauty of homemade ice cream.
Remember, patience is key when it comes to freezing and processing. Trust the process, and you’ll be rewarded with a scoop (or three) of pure bliss. So go ahead, fire up that Ninja Creami, and get ready to experience ice cream nirvana right in your own kitchen. Happy churning! 😀
