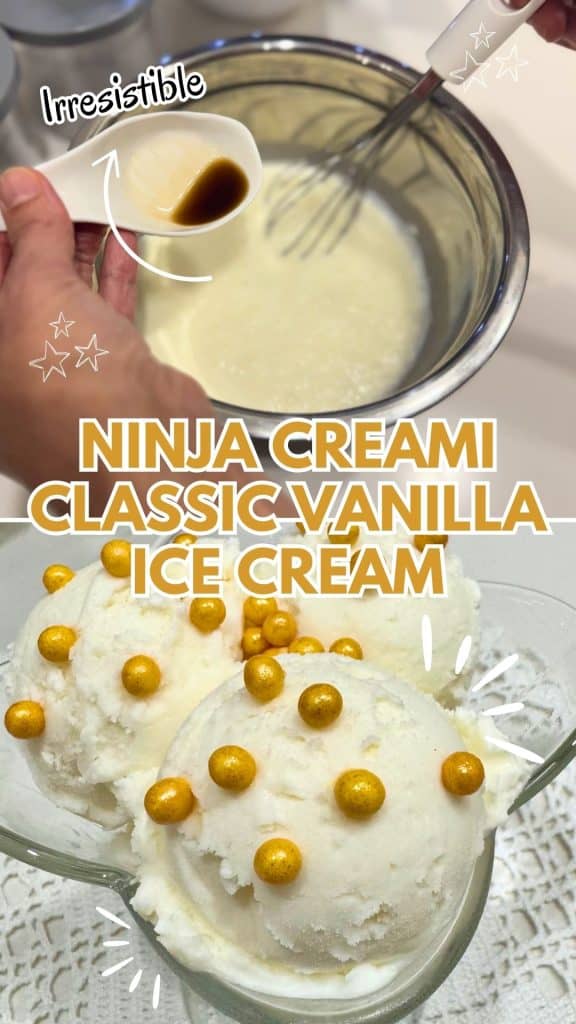
Welcome to my kitchen, where we’re about to embark on a delicious journey to create the Ninja Creami Classic Vanilla Ice Cream, the ultimate classic vanilla ice cream made with love.
My wife and I decided to try this recipe one day when we were craving something nostalgic, and the results were so incredible that we just had to share it with you.
As someone with a serious sweet tooth, I’ve experimented with many ice cream recipes over the years. But let me tell you – this version, made with the Ninja Creami, is a game-changer.
It’s not just about the end result – incredibly creamy and packed with rich vanilla flavor – but also about the joy of crafting something so delightful in your own home.
Ingredients and Equipment
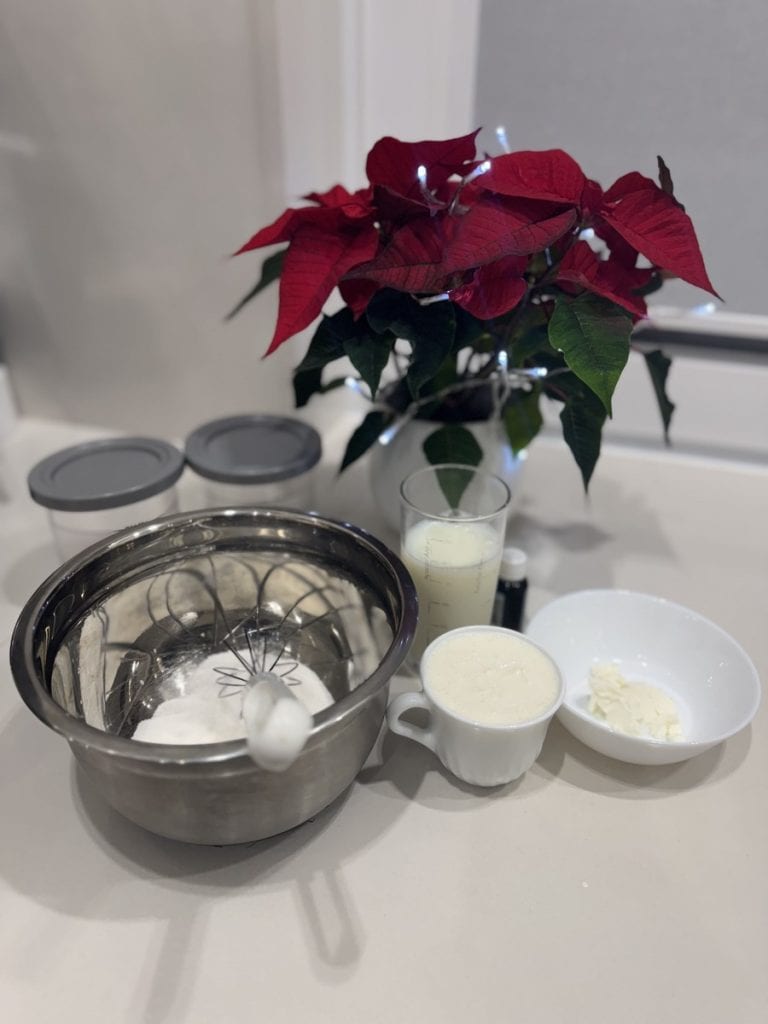
Essential Ingredients:
- 1 oz (2 tablespoons) cream cheese
- ⅓ cup granulated sugar
- 1 teaspoon pure vanilla extract (or vanilla bean paste for an even richer flavor)
- ¾ cup heavy cream
- 1 cup whole milk
The quality of your ingredients matters here. Use fresh, full-fat dairy and pure vanilla extract for the best flavor. Avoid low-fat or artificial substitutes, as they can impact the creaminess and richness of the final product.
Necessary Equipment:
- Ninja Creami machine
- Large microwave-safe bowl
- Whisk or silicone spatula
- Measuring cups and spoons
Instructions
1. Soften the cream cheese
Place the cream cheese in a large, microwave-safe bowl and microwave for about 10 seconds to soften. If you prefer, you can let it sit at room temperature for 20 minutes, but the microwave method is faster and just as effective.
2. Mix the ingredients
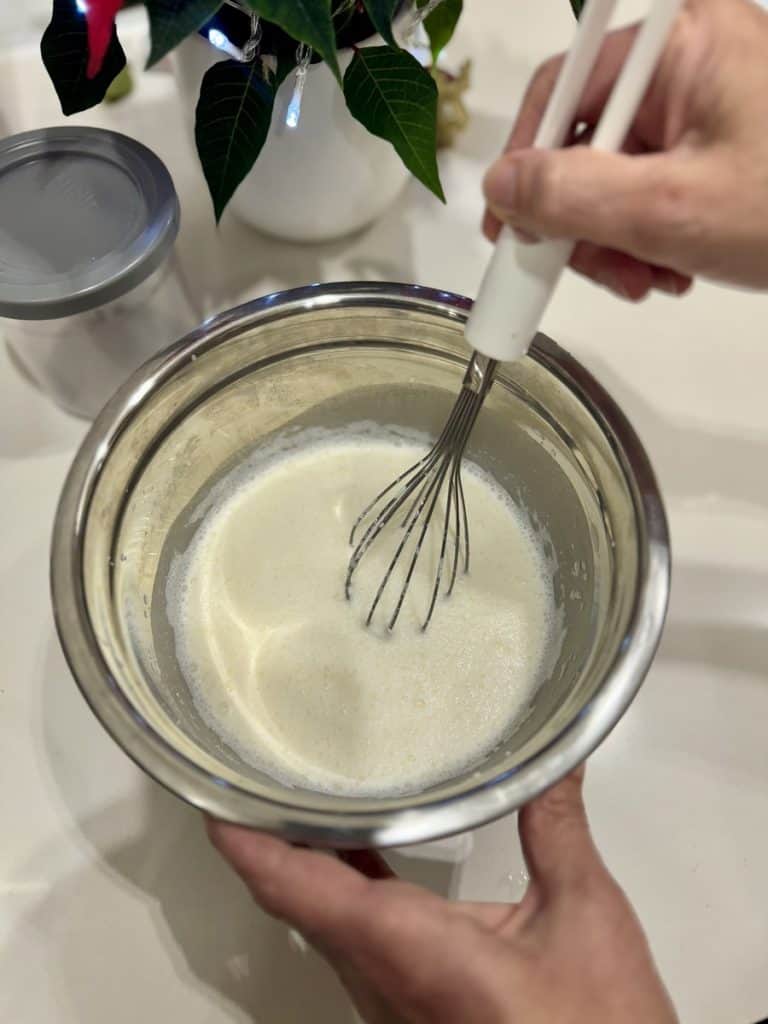
- Add the granulated sugar to the softened cream cheese and mix until smooth.
- Stir in the vanilla extract. This is the moment when your kitchen fills with the irresistible aroma of vanilla!
- Gradually add the heavy cream and whole milk, stirring until fully combined and the sugar is dissolved. Take your time to ensure the mixture is smooth and homogeneous.
3. Freeze the base
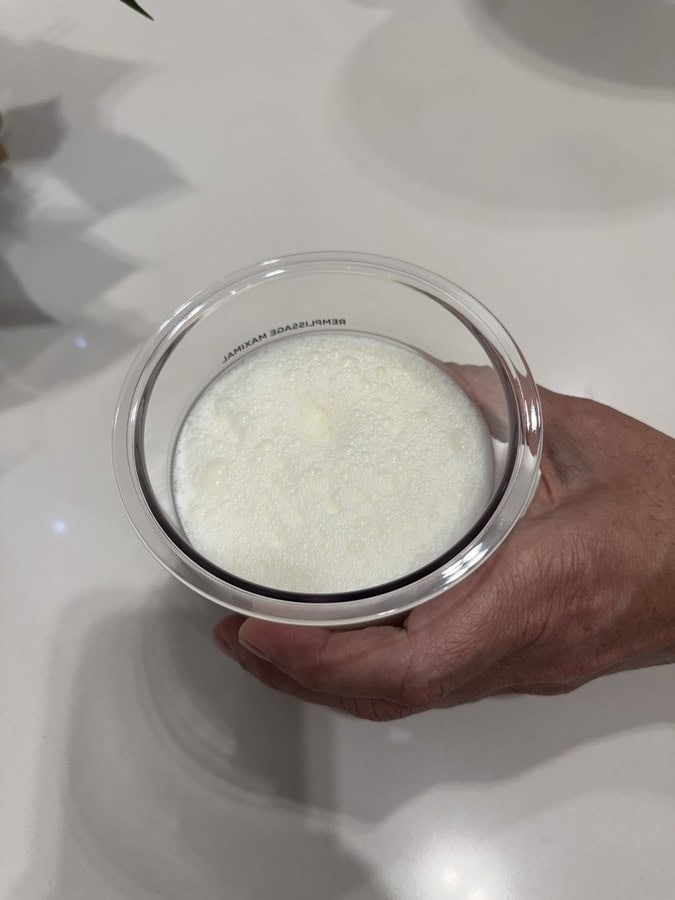
Pour the ice cream mixture into the Ninja Creami pint container, ensuring it reaches the recommended fill line. Secure the lid and place it in the freezer on a flat surface. Freeze for at least 24 hours. While it may be tempting to speed up the process, this waiting period is essential for achieving the perfect texture.
4. Process in the Ninja Creami
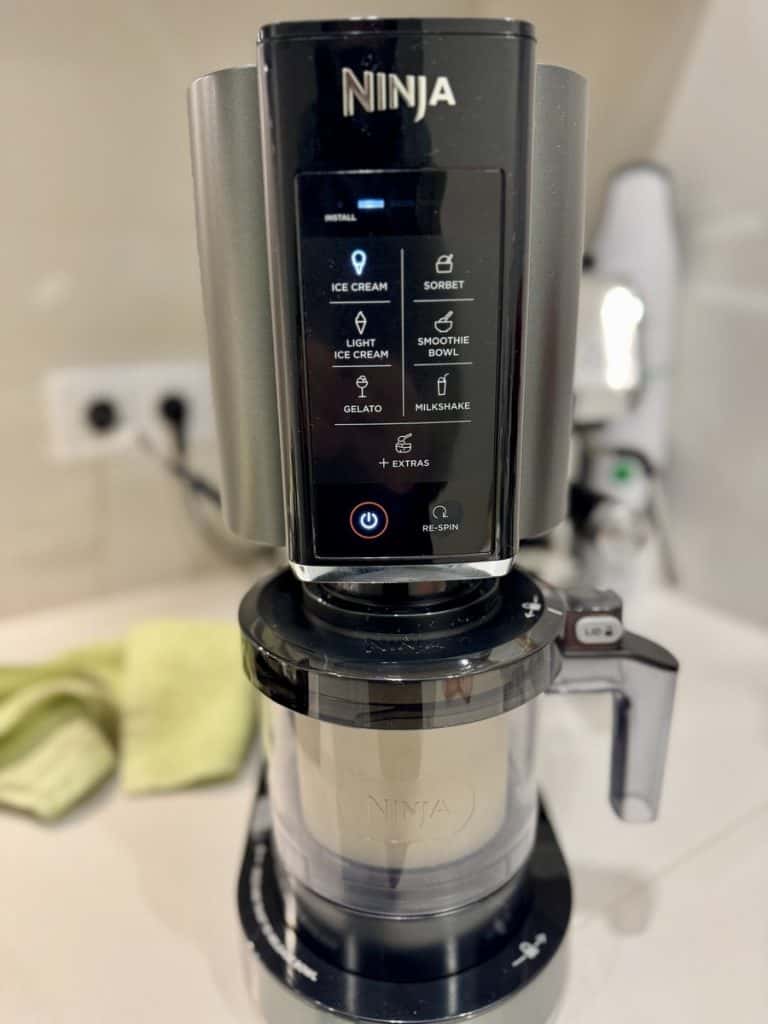
Once frozen, remove the pint container from the freezer and place it into the Ninja Creami machine. Select the “Ice Cream” setting and let the machine do its magic – the process takes about 2 minutes.
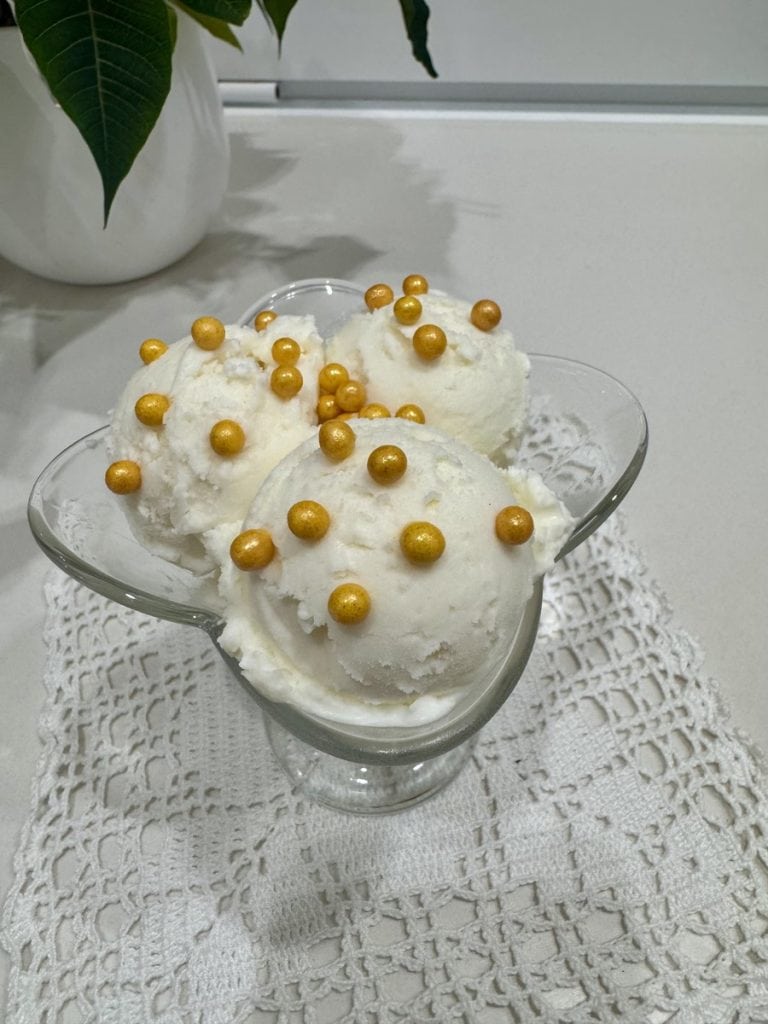
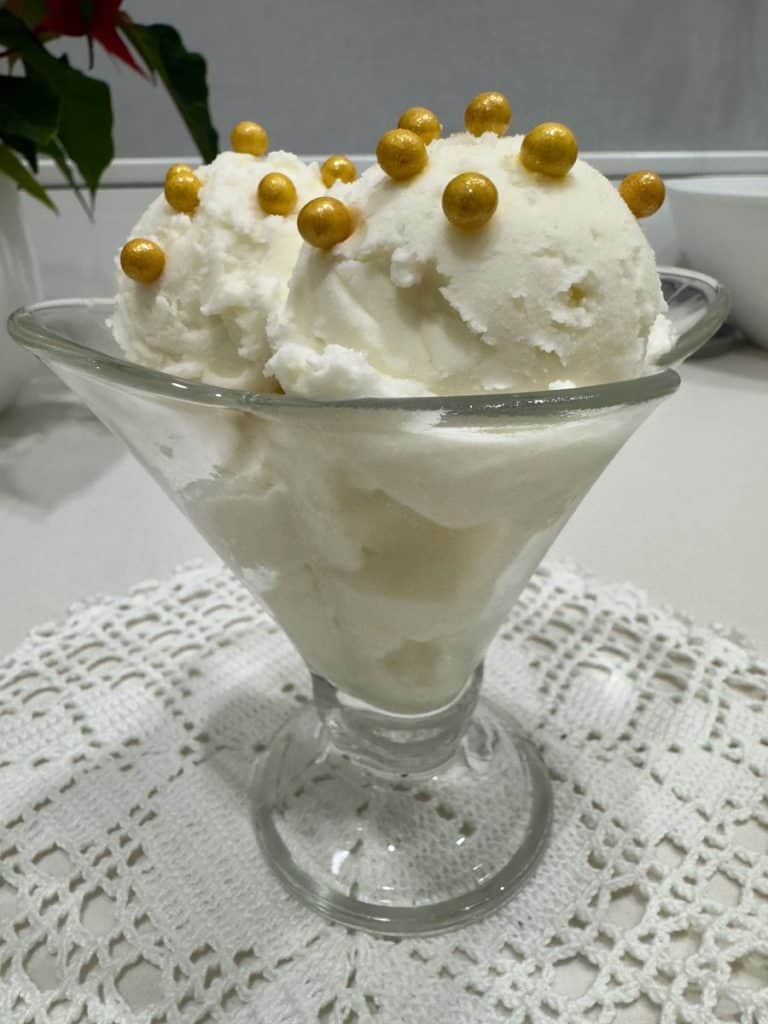
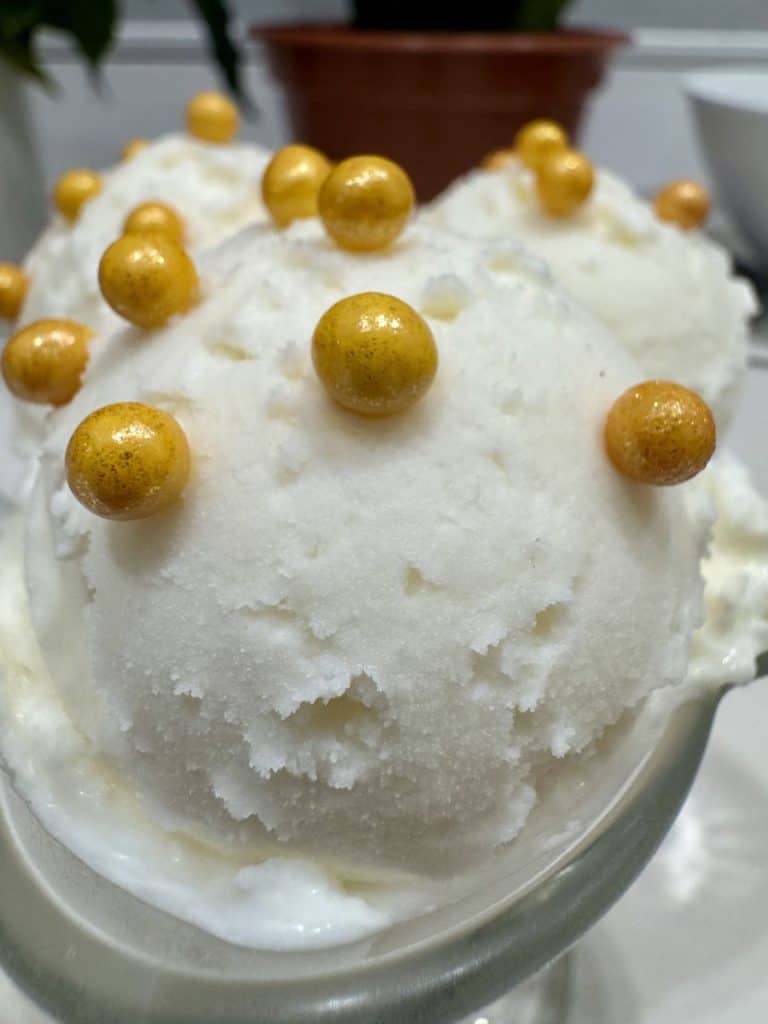
Pro Tip: If the ice cream is too firm or crumbly after processing, use the “Re-spin” function. You can also add a splash of milk and re-spin for an even creamier texture.
Tips for the Perfect Ice Cream
- Add mix-ins: For variety, try adding chocolate chips, crushed cookies, or fruit pieces. To prevent them from melting into the mixture, chill the mix-ins before adding them to the ice cream.
- Achieve the ideal texture: If your ice cream is powdery or hard after processing, a small splash of milk and a re-spin will transform it into the perfect creamy consistency.
- Experiment with alternative creams: If you’re looking for a lighter option, you can substitute some of the cream with half-and-half. For a dairy-free version, try unsweetened oat milk, coconut cream, and vegan cream cheese – the coconut version is especially delicious for summer!
Ingredient Notes
- Vanilla extract: High-quality pure vanilla extract or vanilla bean paste is key for that authentic vanilla flavor. Avoid artificial vanilla, as it won’t deliver the same depth of flavor.
- Fresh dairy: Always use the freshest heavy cream, whole milk, and cream cheese you can find. Fresh ingredients ensure a balance of sweetness and creaminess that takes this ice cream to the next level.
Can You Make This Without a Ninja Creami?
Many people ask if this recipe can be made without a Ninja Creami. Unfortunately, the answer is no. The Ninja Creami is specifically designed to achieve the ultra-creamy, smooth texture that makes this vanilla ice cream stand out. Traditional ice cream makers use a different churning process and might not yield the same result.
If you’re serious about homemade ice cream, I highly recommend investing in a Ninja Creami. It’s a kitchen game-changer that lets you whip up premium-quality ice cream anytime.
Final Thoughts
Making the Ninja Creami Classic Vanilla Ice Cream isn’t just about following a recipe – it’s about the experience.
From the anticipation of freezing the base to the pure joy of that first creamy spoonful, this is a journey that engages all your senses. This recipe has become a staple in our home, perfect for lazy weekends or impressing dinner guests.
The beauty of homemade ice cream lies in its simplicity and the freedom to customize it to your liking. Don’t be afraid to experiment with flavors or adjust the sweetness to suit your taste. Every batch is an opportunity to refine your craft and create something truly special.
So, gather your ingredients, fire up your Ninja Creami, and get ready to indulge in a scoop (or two) of homemade bliss. Trust me, once you’ve tasted this, you’ll never look at store-bought ice cream the same way again. Happy churning!
