Halloween is just around the corner, and I’ve got the perfect treat to wow your guests at your spooky soirée.
Let me introduce you to the Spooky Black Velvet Halloween Cake – a dessert that’s as dark as the night and as rich as a witch’s cauldron. I stumbled upon this recipe during a late-night baking session last October, and it’s been a hit at every Halloween party since.
What is Black Velvet Cake?
Understanding the Unique Flavor and Color
Black velvet cake is the mysterious cousin of the classic red velvet. It gets its intense black color and deep chocolate flavor from black cocoa powder.
When I first tasted it, I was instantly transported back to my childhood, munching on Oreo cookies. The flavor is unmistakably reminiscent of those beloved sandwich cookies, but with a more sophisticated, grown-up twist.
Ingredients
Essential Components for the Cake and Frosting
Let’s dive into what you’ll need to conjure up this bewitching dessert. I always recommend using high-quality ingredients – they really make a difference in the final taste.
Cake Ingredients:
– 2 Cups (265g) all-purpose flour
– 1 2/3 Cups (340g) granulated sugar
– 2/3 Cup (80g) black cocoa powder
– 2 tsp baking soda
– 1 tsp baking powder
– 1/2 tsp salt
– 1/2 Cup (120ml) vegetable oil
– 2 large eggs, room temperature
– 1 1/2 tsp pure vanilla extract
– 1 Cup (240ml) full-fat buttermilk
– 1 Cup (240ml) hot coffee or hot water
Frosting Ingredients:
– 2 Cups (452g) unsalted butter, room temperature
– 5 Cups (600g) powdered sugar
– 1 Cup (112g) black cocoa powder
– 4 Tbsp whole milk, room temperature
– 2 tsp pure vanilla extract
– 1/4 tsp salt, or to taste
Step-by-Step Instructions

Preparing the Cake
Step 1: Prepare the Cake Pans
First things first, preheat your oven to 350°F (180°C). I like to think of this as waking up the kitchen spirits. Grab three 6-inch cake pans and give them a good spray with cooking spray. Then, line the bottoms with parchment paper. This extra step ensures your cakes will come out clean – no tricks, just treats!
Step 2: Mix the Dry Ingredients
In a large bowl, whisk together the flour, sugar, baking soda, baking powder, and salt. This mixture is the foundation of your cake’s flavor, so make sure it’s well combined.
Step 3: Mix the Wet Ingredients
Now, in a separate bowl, whisk the eggs, buttermilk, oil, and vanilla extract. Here’s a little secret I learned: add the black cocoa powder to some boiling water to “bloom” it before mixing it in. This enhances the chocolate flavor and makes the color even more intense.
Step 4: Combine Wet and Dry Ingredients
Pour the wet ingredients over the dry and whisk until just combined. Don’t overmix – we want a tender cake, not a tough one! Then, add the hot coffee or water and mix until smooth. The batter will be quite thin, but don’t worry, that’s normal.
Step 5: Bake the Cake
Divide the batter evenly among your prepared pans and bake for 32-36 minutes. You’ll know they’re done when a toothpick inserted comes out clean. Let the cakes cool completely on a wire rack. Patience is key here – I’ve learned the hard way that trying to frost a warm cake leads to disaster!
Making the Black Buttercream Frosting
A Dye-Free and Delicious Frosting
Step 1: Prepare the Frosting
In your stand mixer, whip the butter until it’s creamy and light. Add the powdered sugar in two batches, mixing until just incorporated each time. Then add the sifted black cocoa powder, vanilla extract, milk, and salt. Mix until everything is thoroughly combined.
Step 2: Chill the Frosting
Here’s a pro tip: transfer the frosting to an airtight container and refrigerate for at least 4-6 hours, or overnight if you can. This allows the color to darken and the frosting to set, making it easier to work with.
Assembling the Cake

Bringing It All Together
Step 1: Level the Cake Layers
Once your cakes are completely cool, level them to your desired height. I like to snack on the scraps – baker’s privilege!
Step 2: Stack and Frost the Cake
Place one cake layer on your cake plate and spread a layer of that delicious black buttercream frosting. Repeat with the second layer, then add the third. Now frost the entire cake with the remaining frosting. This is where you can let your creativity shine!
Step 3: Decorate the Cake
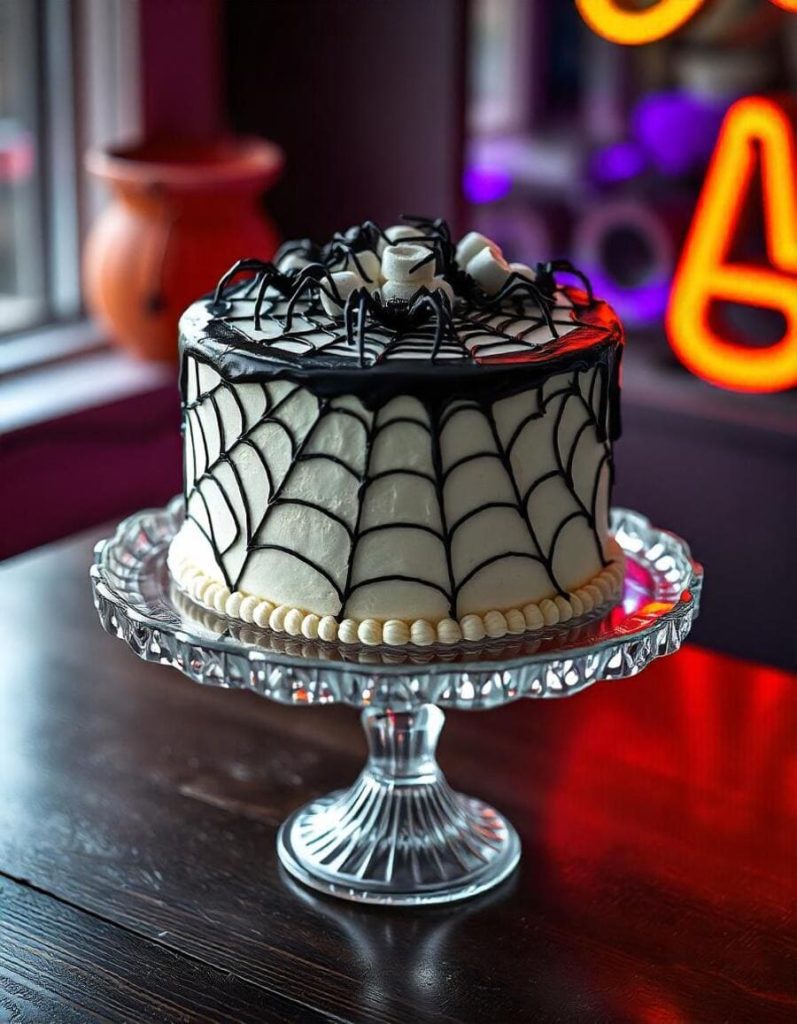
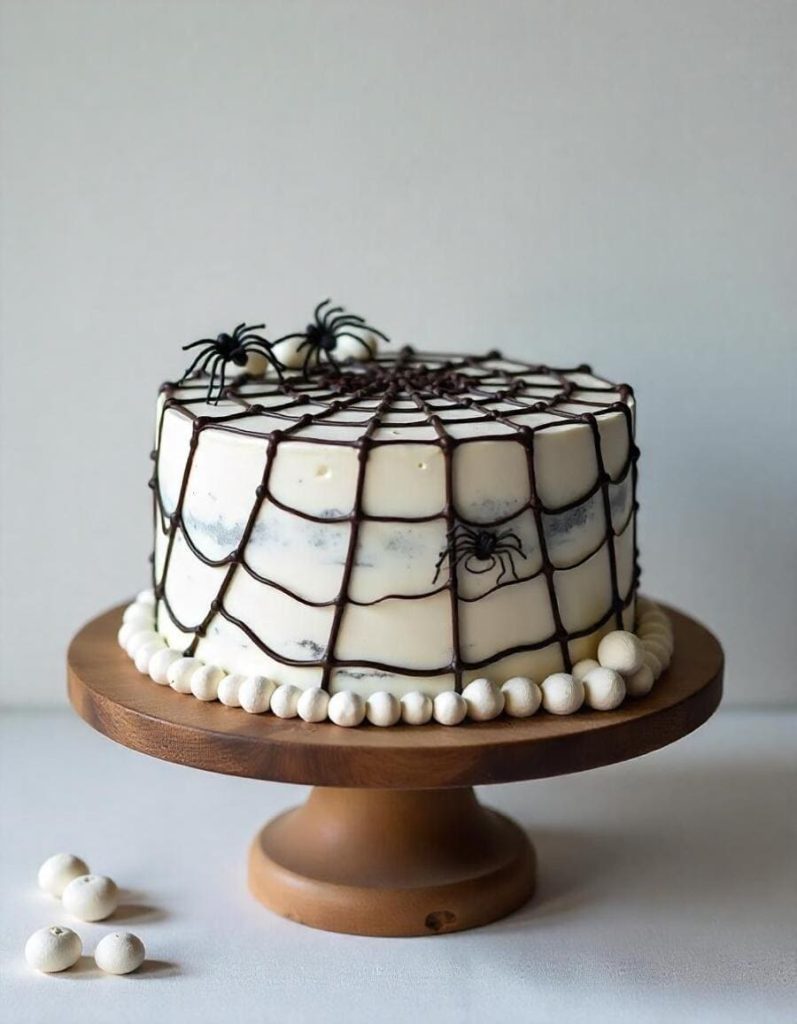
For a spooky touch, I love using the black buttercream to create a smooth finish, then adding some eerie details. Lambeth piping is a great technique for creating intricate, gothic-looking designs. Don’t be afraid to get creative – this cake is all about embracing the Halloween spirit!
Decorating Ideas for Halloween
Adding a Spooky Touch
– Lambeth Piping: Use the black buttercream to create intricate designs and garlands on the cake. It’s easier than it looks, I promise!
– Halloween Themes: Add some edible spiders, bats, or pumpkins for a truly haunting effect.
– Black Sprinkles: A sprinkle of round black sprinkles can give your cake an eerie, starry night look.
Final Thoughts
Creating this Spooky Black Velvet Halloween Cake is more than just baking – it’s an experience. The rich chocolate flavor, the striking black color, and the opportunity for creative decoration make this cake a showstopper at any Halloween gathering.
I remember the first time I made this cake for a Halloween party. The gasps of delight when I brought it out were worth every minute spent in the kitchen. One friend even joked that it was so dark, it must be enchanted!
Whether you’re a seasoned baker or trying your hand at a themed cake for the first time, this recipe is sure to impress. So put on your favorite spooky playlist, maybe light a pumpkin-scented candle, and let’s get baking. After all, Halloween only comes once a year – let’s make it deliciously memorable!

